
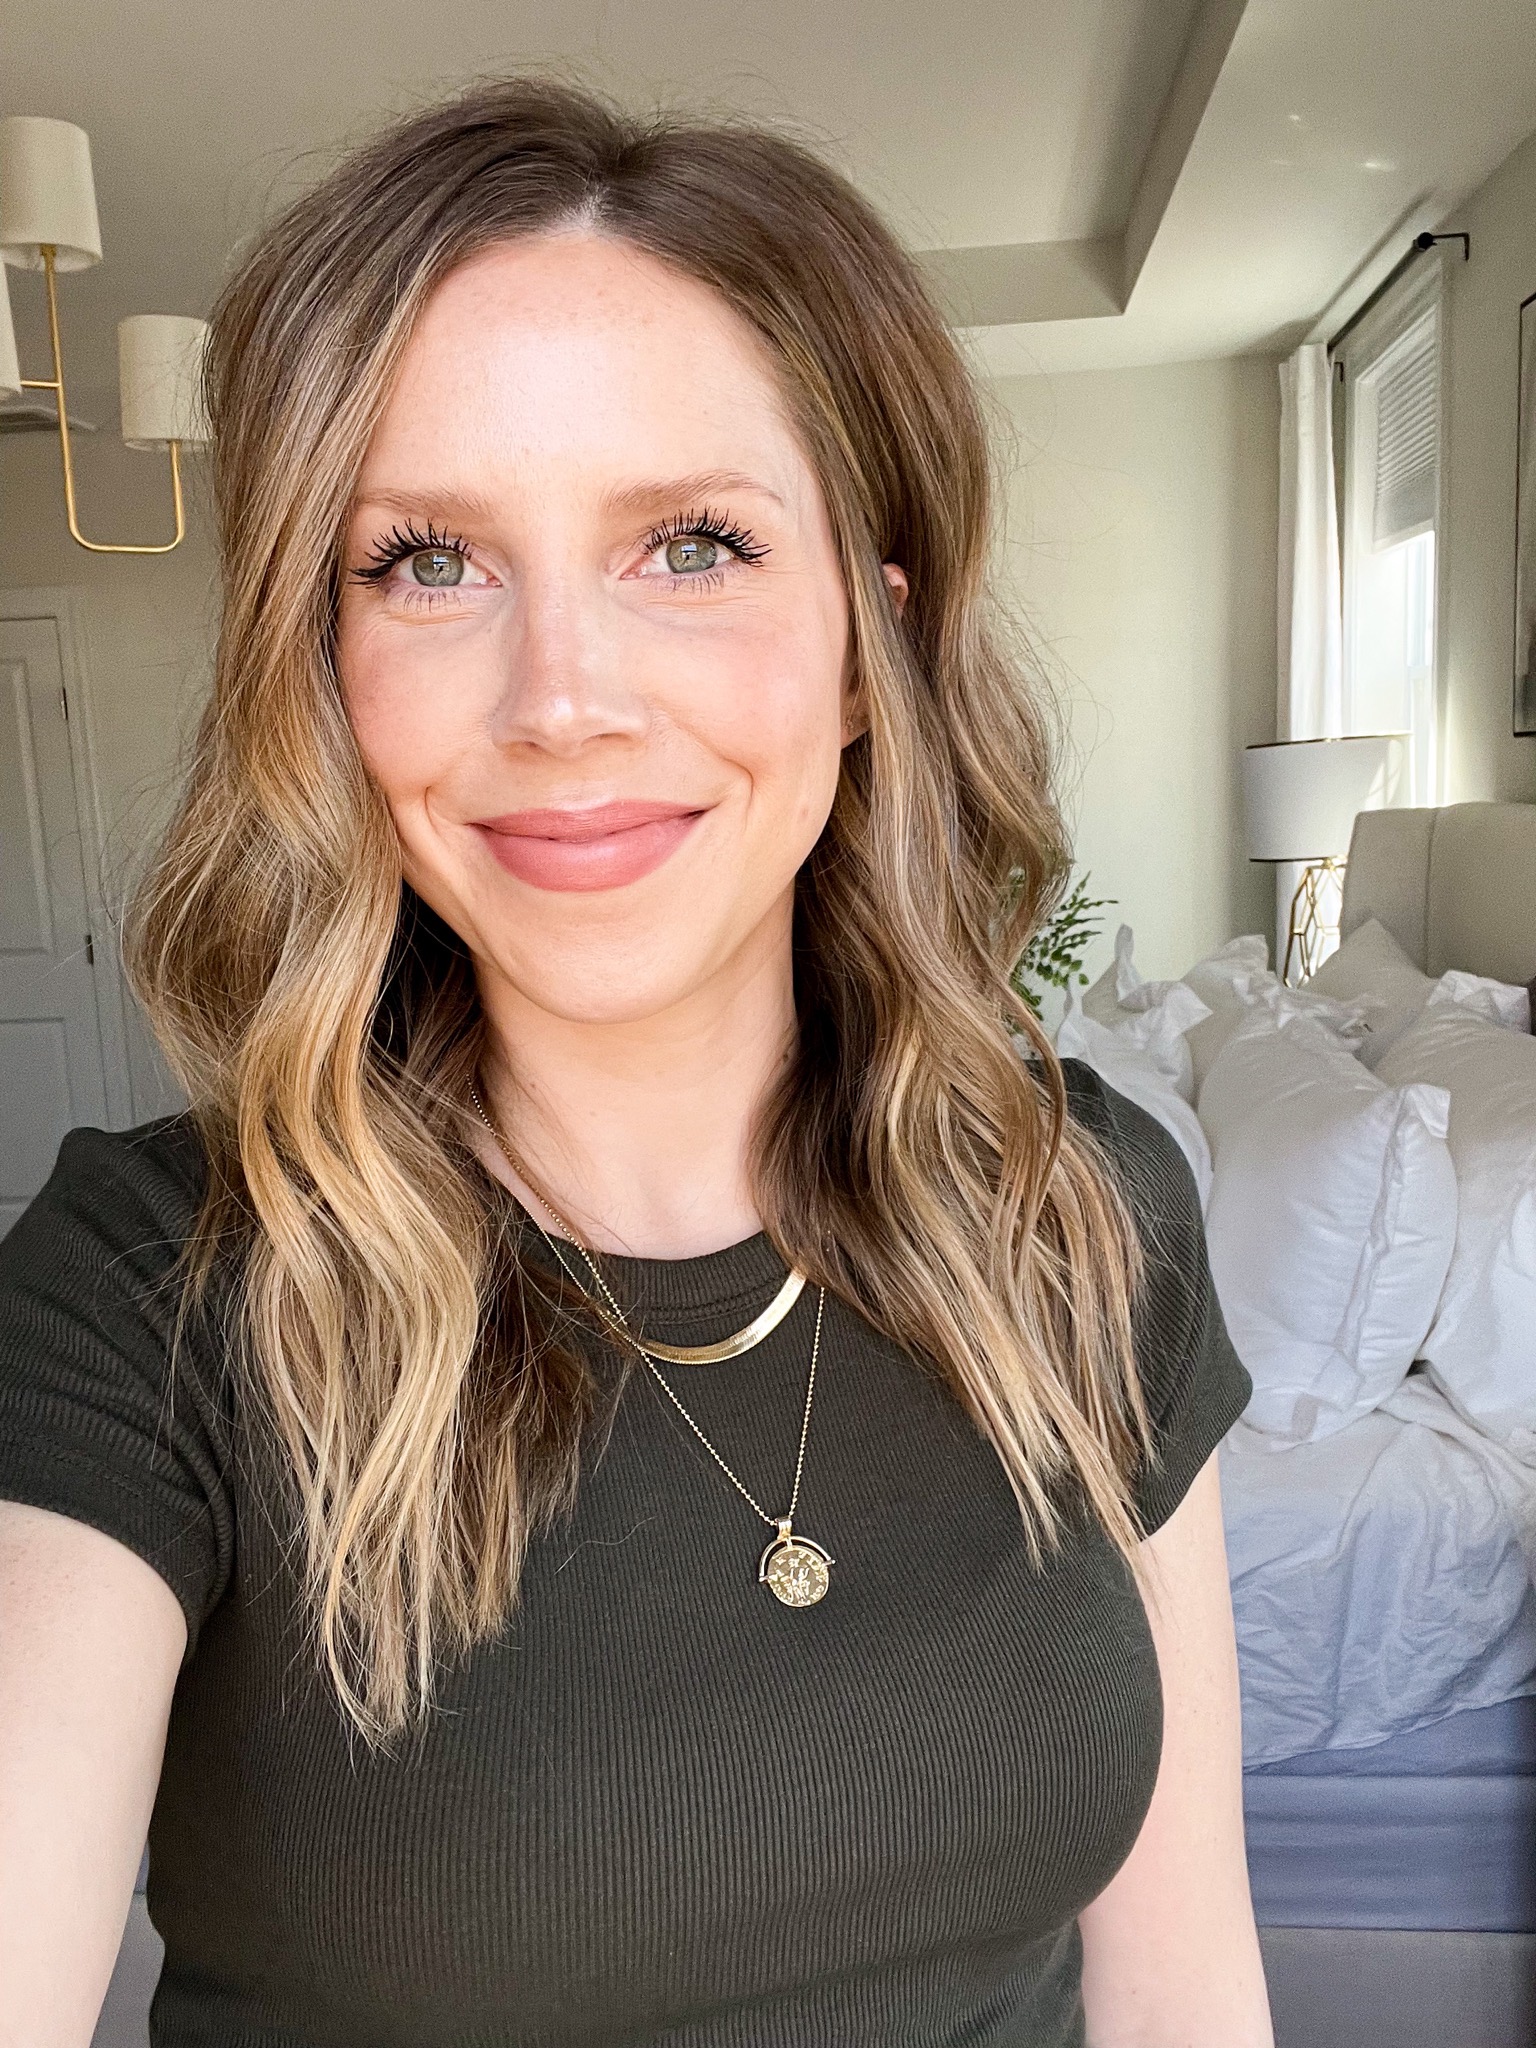
if i’m being honest, i’ve become pretty lazy when it comes to getting ready for the day. being that i work from home, i can get away with sweats and bed head every day, minus a few judgmental looks from my cats. during the winter months, i wouldn’t leave my apartment unless absolutely necessary, so there was even less motivation to style my hair and put on my ‘full face’.
during those months, i started getting more creative with my hair and trying new styles that would work on second (or third) day hair. i’m typically a down and curled or half-up girl, but i’ve gotten in the groove of putting my hair back. that will be essential this summer seeing as i’ve basically turned into Rapunzel overnight. okay, my hair’s not that long, but it’s sometime unruly and just needs to be out of my face.
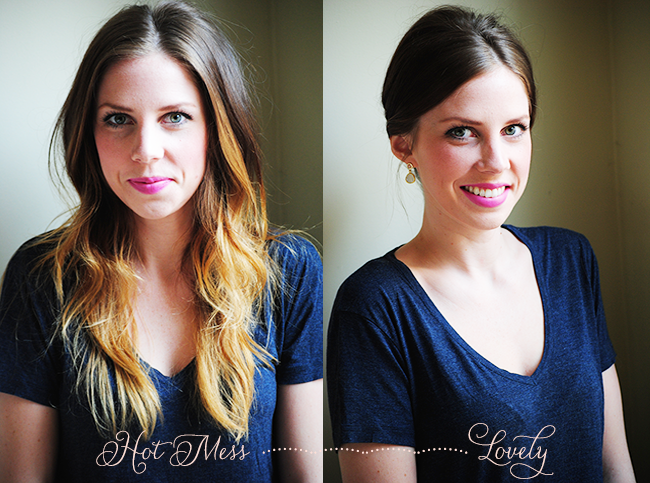
i’ve always envied women with hair that they could just throw back into a bun and it would look perfect. i am not one of those women, so i had to figure out a way to create an effortless look…with a bit of effort. what i like best about this dirty bun is that it’s actually easier to do with dirty hair, so ya know, less motivation to actually wash my hair every day.

1. roll out of bed.
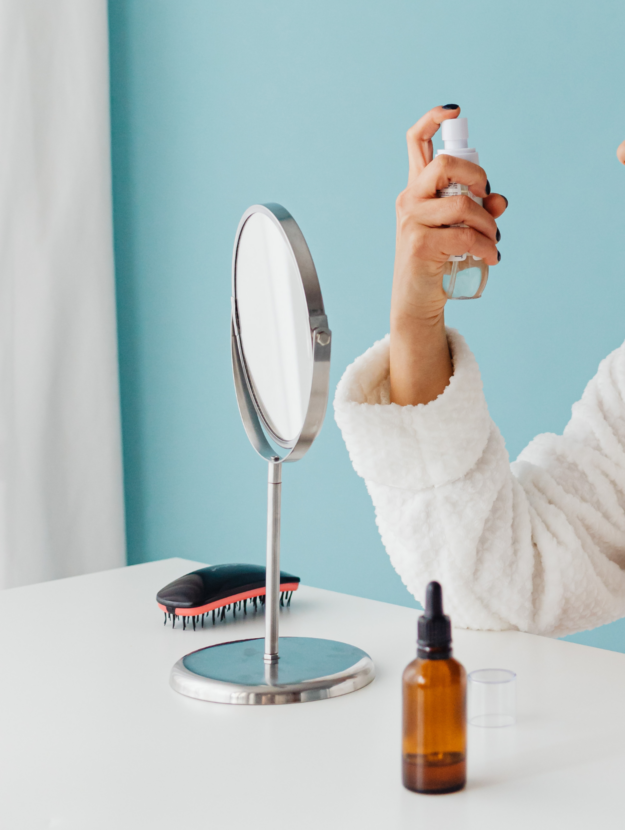
2. spray dry shampoo onto roots and/or areas that need it.
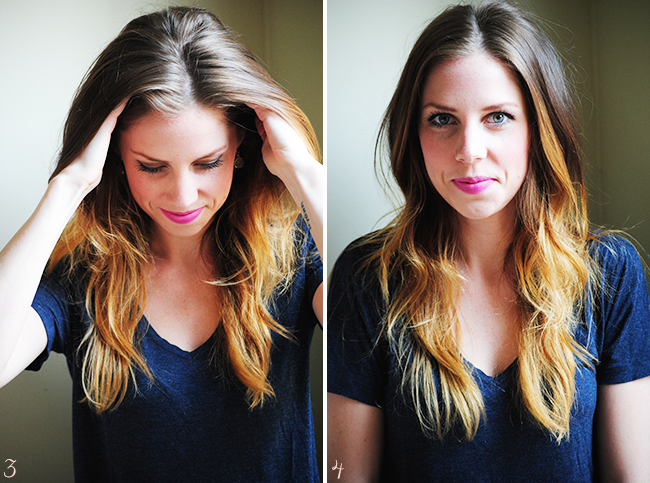
3. rub dry shampoo into scalp and work it into your hair.
4. look like slightly less of a mess. makeup helps.
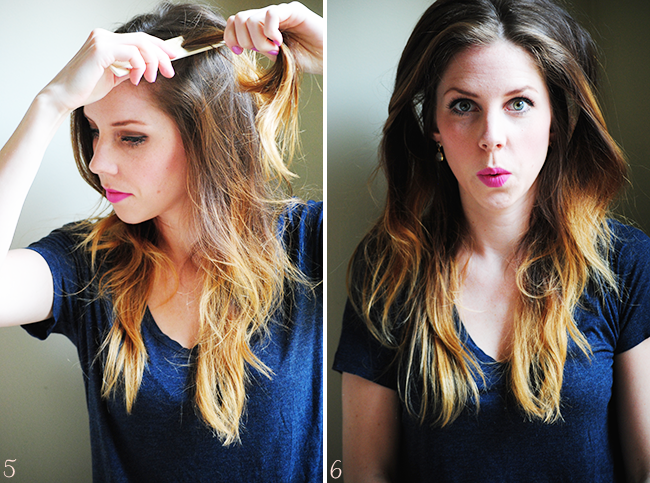
5. if you’re a teaser, do it. my hair needs a little extra life in it, so i tease at the crown and the top.
6. look like more of a mess, soon to be fixed.
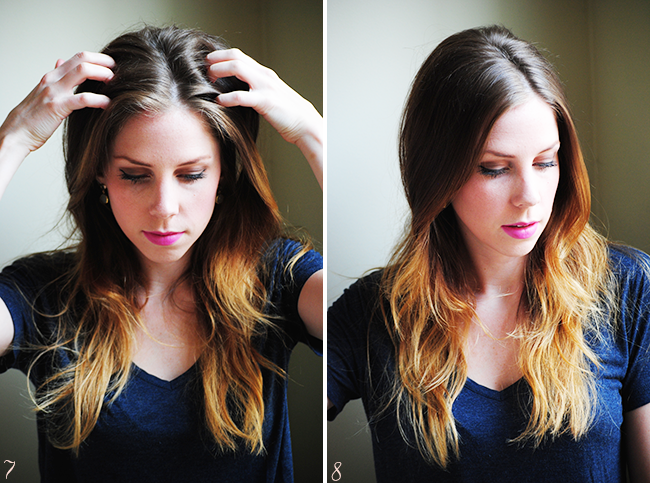
7. smooth out your teasing with a comb or your fingers.
8. mess fixed. your hair should have some good lift and volume to it now.
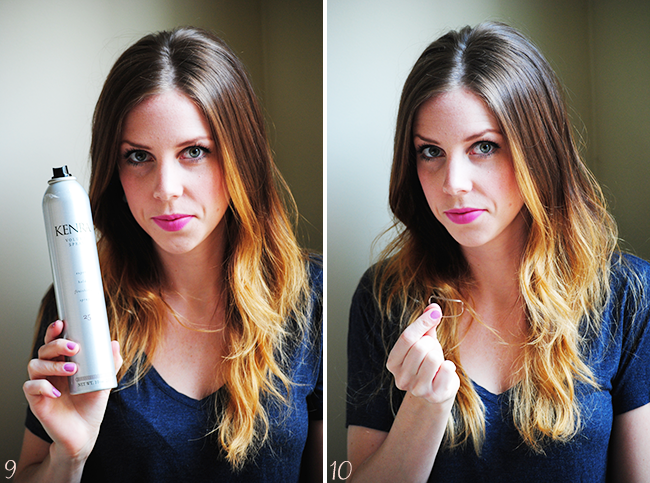
9. grab your hairspray and lock in your volume.
10. pick up your trusty hair tie that’s been around for far too many months and is on the brink of snapping at any point. or a new one. whatever suits you best.
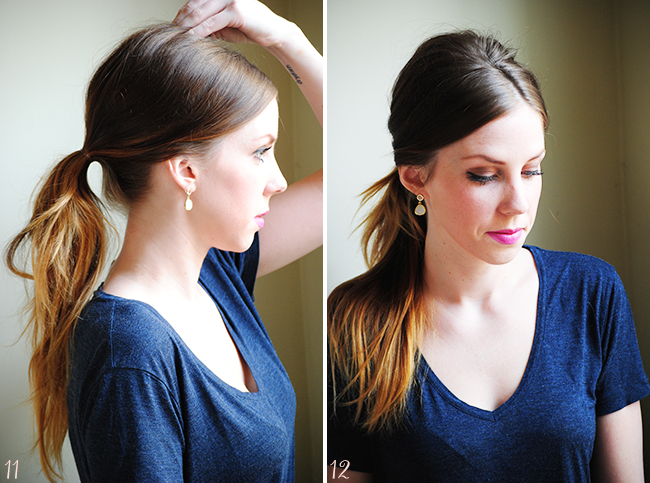 11. put your hair in a low, loose ponytail. if necessary, loosen it a bit more at the crown and sides for an easy look.
12. i like to pull a few pieces out to frame my face and create that easy look. if you want, you could stop here! but keep going.
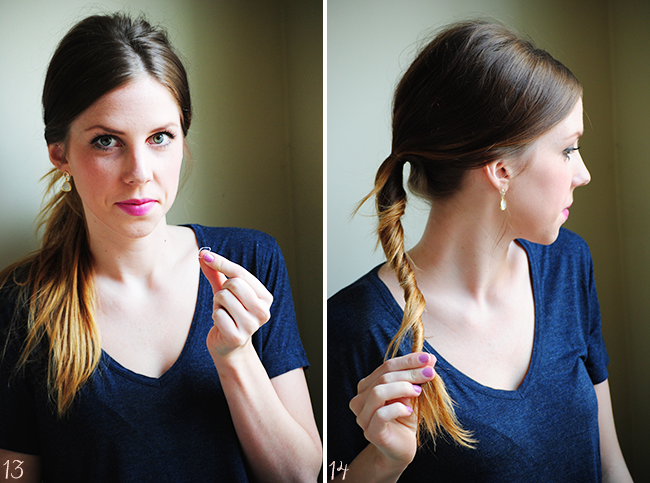
13. time for another tiny elastic. i recommend using the clear elastics so that they don’t show.
14. twist your ponytail from the hair tie to the end.
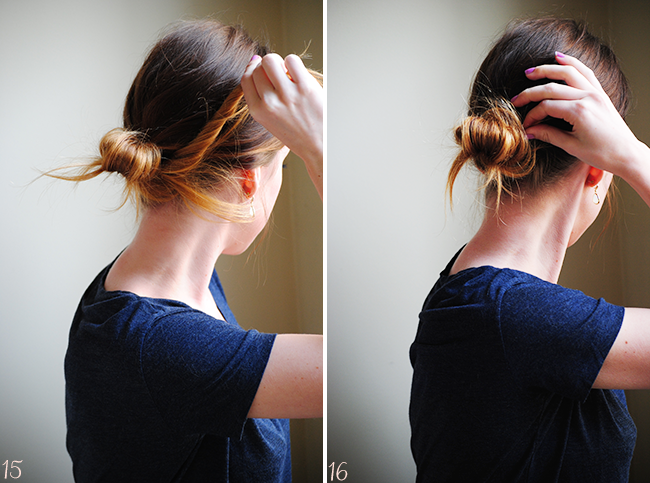
15. start to wrap the twist around the existing hair tie. since you twisted your hair first, it should start naturally wrapping around the tie.
16. go all the way around until the end if tucked into the twist.
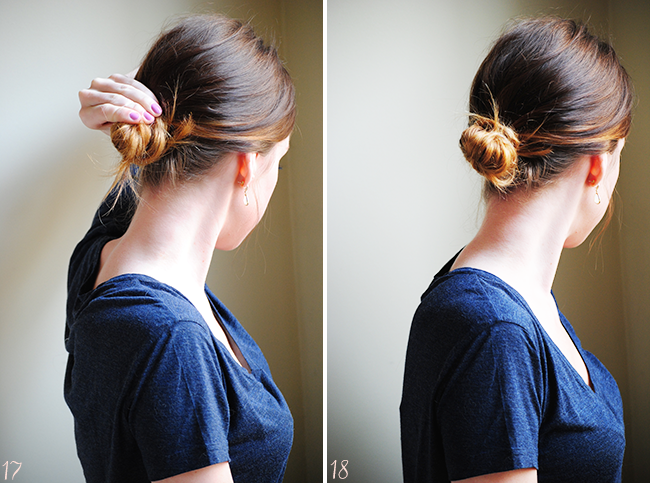
17. wrap your clear elastic around the bun. i can get mine around twice. if you can only do it once, add another elastic and/or bobby pins for security.
18. check yourself out and rearrange any pieces that stick out or that you don’t like.

19. i like to loosen it up again by gently pulling from the bun and at my crown.
20. you’re finished!
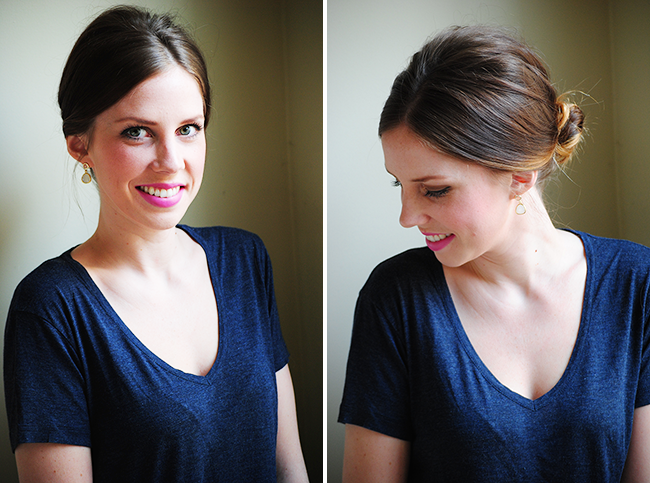
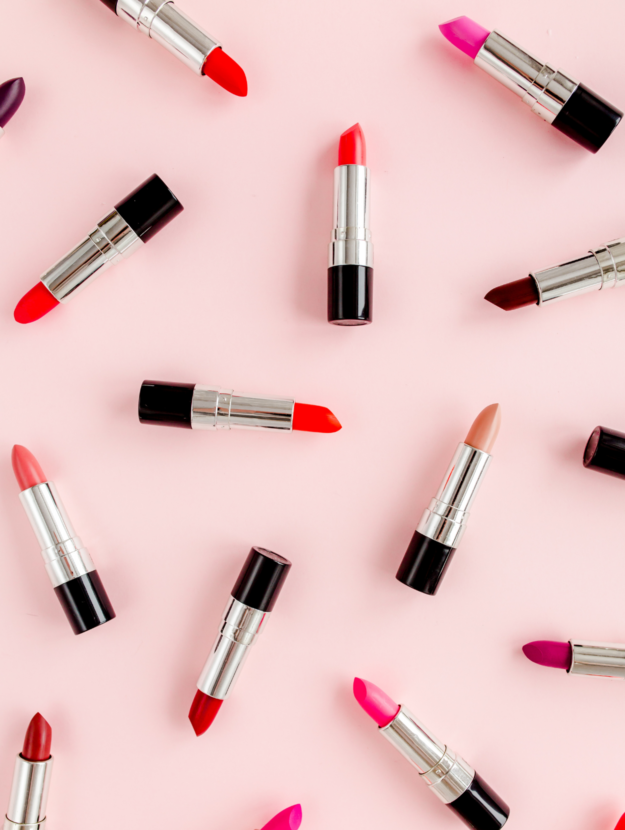
what i really like about this hairstyle is that it can be sophisticated or casual. i’ve worn my hair like this with both collared blouses and casual tees. for a little extra something, add your favorite statement earrings and a bold lip to finish!
if you’re like me and always struggled with getting the perfect bun, i hope this tutorial is successful for you!
dry shampoo | tresemme fresh start
hairspray | kenra 25
tee | madewell
earrings | elisabeth ashlie
lip color | revlon colorburst balm in showy flamboyante

Hi Lauren, the past 2 days, when I go to your site, it pops up with a bogus ad and takes me straight to the App Store. Not sure if you were aware that's happening but jut wanted to let you know.
Did the same thing to me : (