

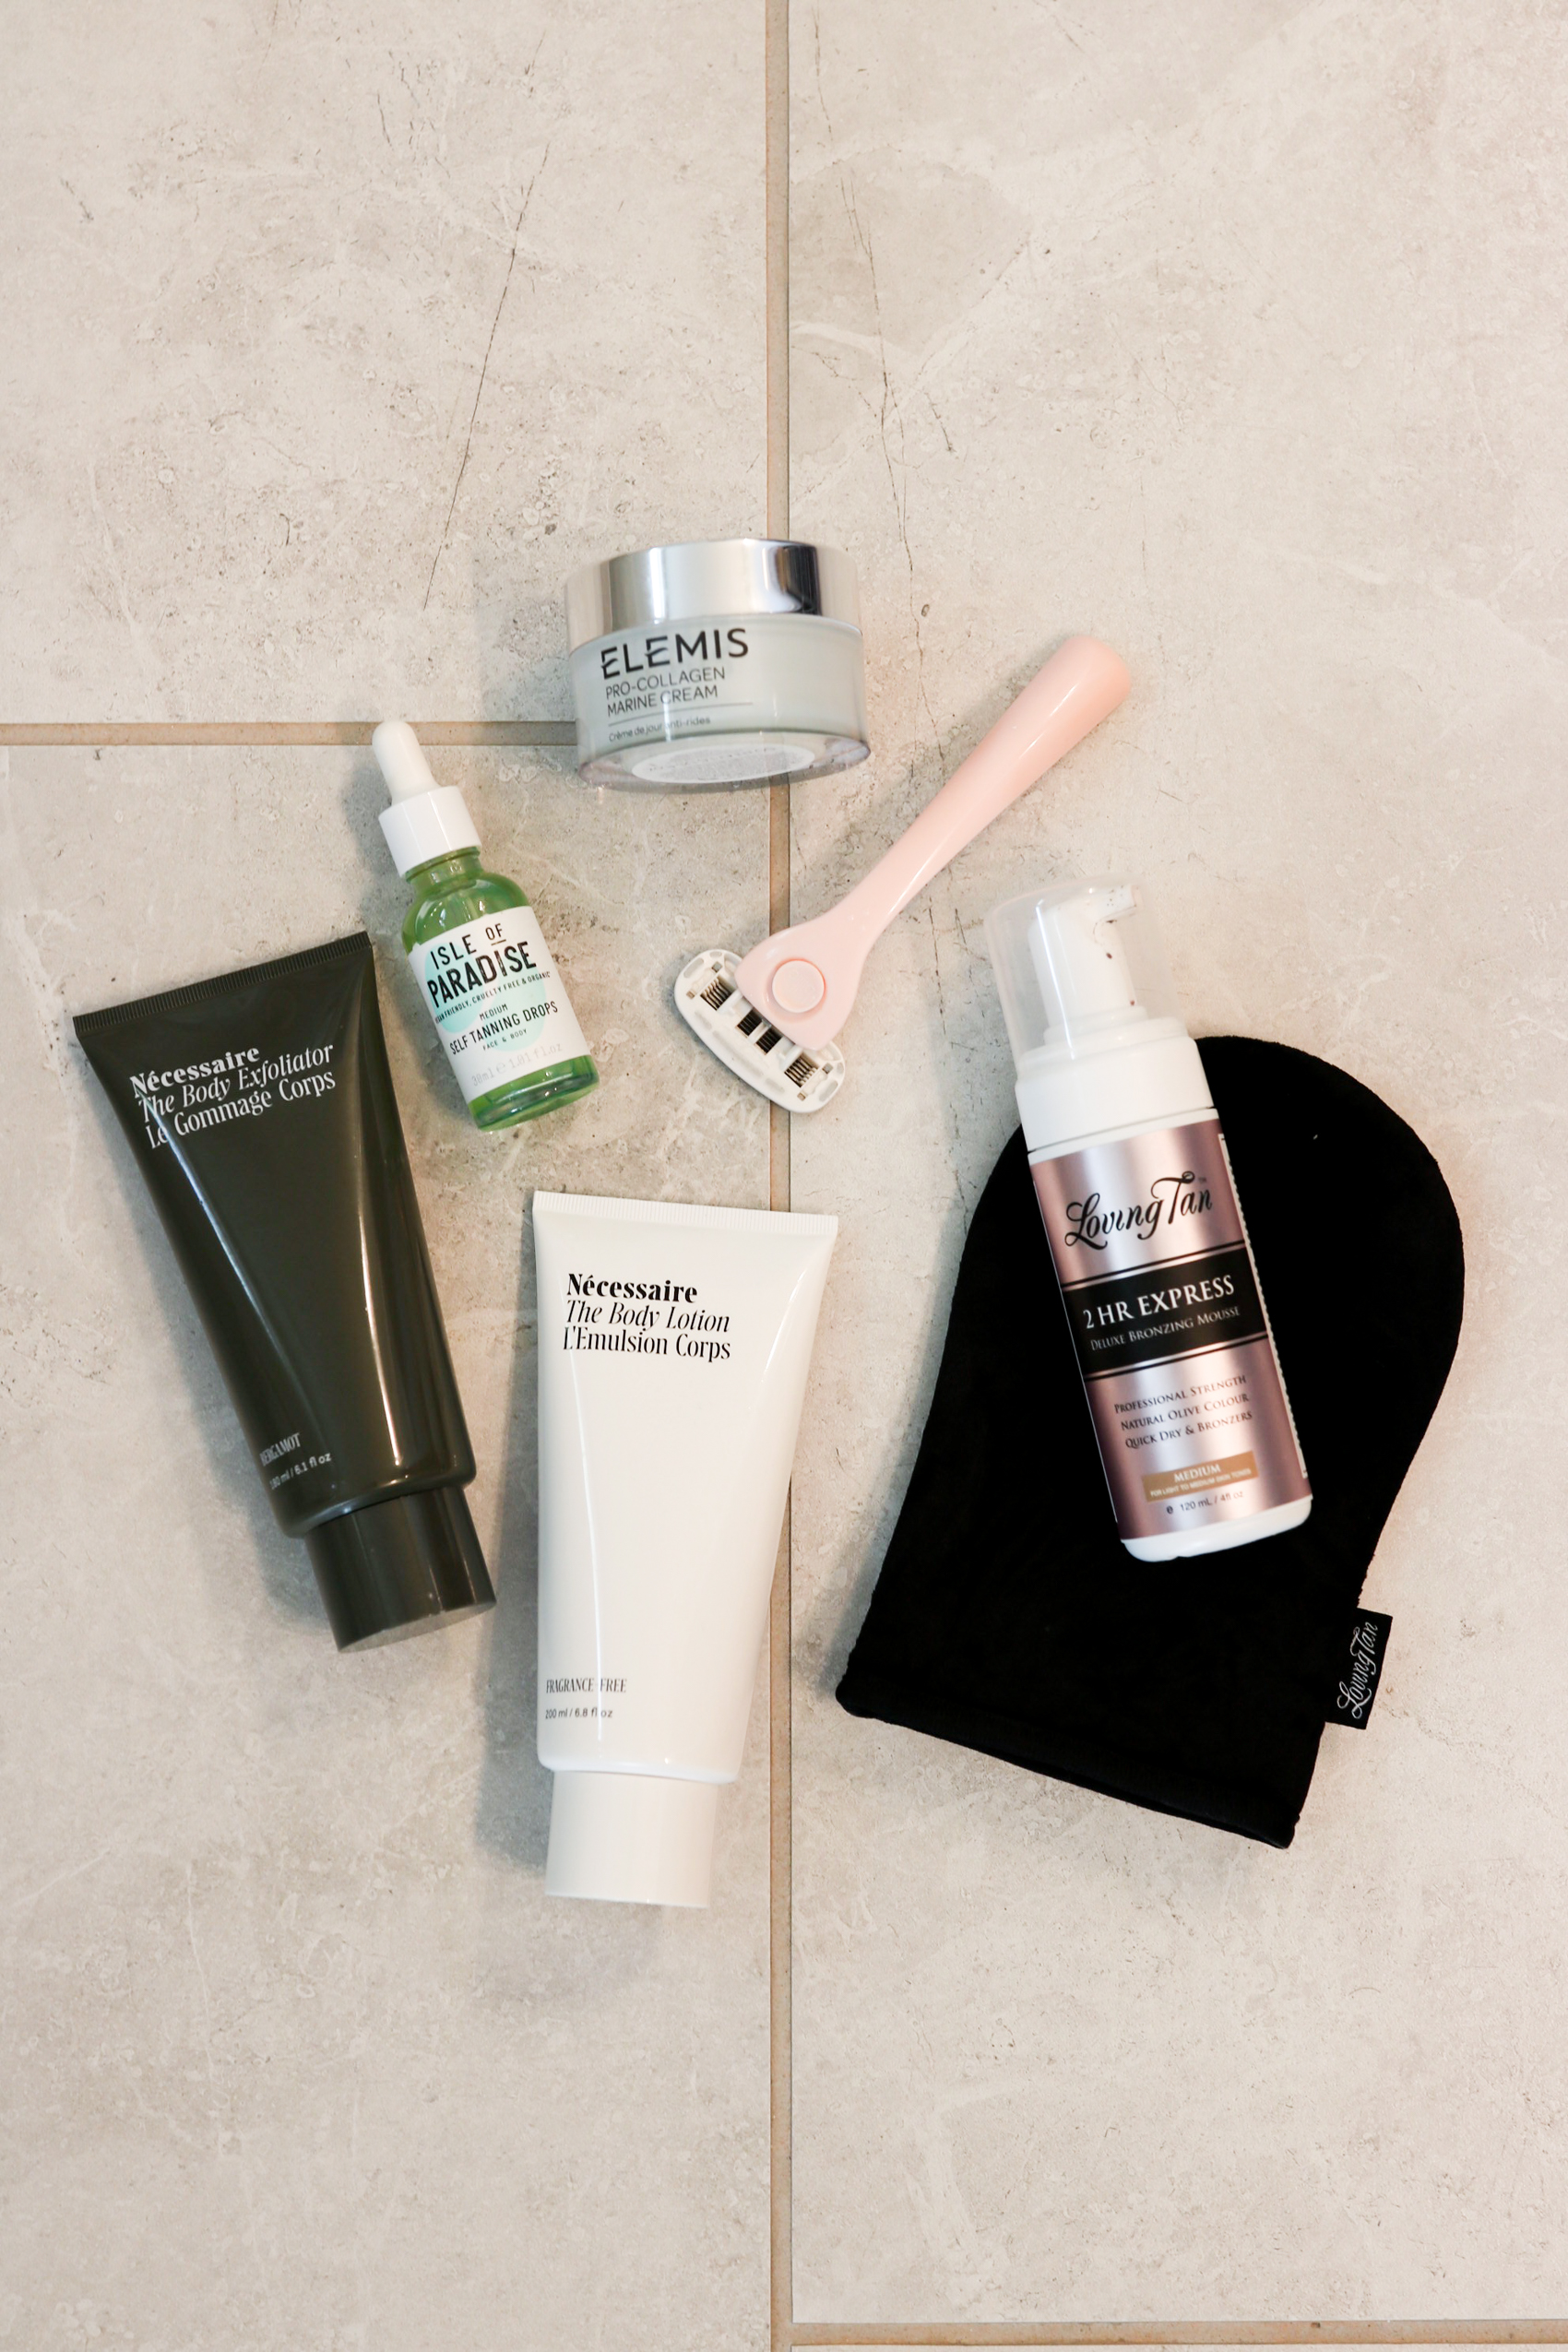
In just the last few weeks, I feel like I’ve mastered my sunless tanning routine. With the steps that I’m taking now, I get a flawless, natural sunless tan that wears well and gives my skin that glow that I love this time of year. I’m naturally very fair and wear a very high SPF in the sun, so I rely on sunless tanning to get my golden glow in the spring and summer.
If you find yourself wanting to get into sunless tanning or struggling with even application, try my routine!
Step 1: Shower. I always shower before applying my sunless tanner. I always shower at night, but especially when I’m doing this so that I can sleep in it.
Step 2: Shave & Exfoliate. While in the shower, I make sure to shave my legs and underarms, as well as exfoliating. I didn’t use to exfoliate my knees, ankles, and elbows, but I’ve found that I get a much smoother finish in those tough areas when I do. I want my sunless tan to look natural, so making sure that your base is ready for application is essential!
Step 3: Dry off & Moisturize. I make sure to completely dry my skin after the shower. I usually towel dry and then give myself 5-10 minutes before starting. When I’m ready to start, I apply lotion to those problem areas – knees, ankles, and elbows. This was the game changer for me. Moisturizing those areas allows the tanning solution to glide over them and create a really even finish, instead of getting caught in lines or missing a side of your knee or something.
Step 4: Apply sunless tanner to your body. I use the shade medium, but you will choose whatever is best for your skin tone! Using a mit, I start working the tanning solution onto my skin. I usually do 4-5 pumps per leg, 2 pumps per arm, and 1-2 pumps for my chest and shoulders.
- 2 pumps: I start in the middle of my shin and work the tanner around the front and back of my lower leg in circles. I also pull it down over my ankles and the tops of my feet.
- 2-3 pumps: I start in the middle of my thigh, working the tanner around the front and back of my upper leg in circles. I also go over my knees with the tanner that is on the mit.
- 1 pump: I start in the middle of my forearm, working the tanner around the front and back of my lower arm and over my elbows.
- 1 pump: I start in the middle of my bicep, working the tanner around the front and back of my upper arm and across my armpit. I like doing my armpits so that they aren’t stark white compared to the rest of my arm, but that’s just personal preference. I rub whatever is left on the mit over my shoulder and onto my upper chest.
- 1 pump: I start in the middle of my upper chest, working the tanner across the front of my body. I go as low as my clothes go and up to my neck. I’ll tan my neck later.
- 1 pump: If I need another pump to finish, I’ll make sure that I’ve gone across the tops of my shoulders and partially onto my back.
- Optional: you can use this applicator to tan your back, if you want to. I rarely tan my back, since I’m not often in clothes that show my back. Even if I’m in a swimsuit, it’s not a stark enough difference that I feel the need to do it on my back. It’s a personal preference, I think! You could also ask someone to do it for you.
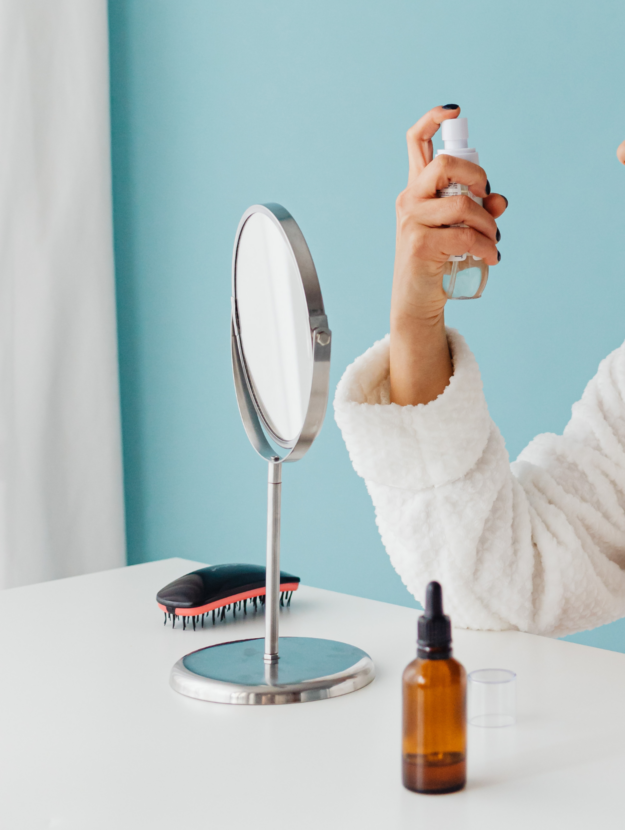
Step 5: Apply sunless tanning drops to your face. I use the shade medium, but you will choose whatever is best for your skin tone! Once I’ve finished with applying to my body, I move onto my face. I grab a dab of my face moisturizer on my fingers (about a dime-sized amount) and drop 1-2 drops of the tanning drops onto it. I then work that into my face, making sure to cover all of it. I go along my hairline, by my ears, and pull it down onto my neck. I prefer to use this to tan my neck as I’ve found it to be a more natural-looking tan. My face won’t be as dark as the rest of my body, but I use bronzer to get the perfect match!
Step 6: Let it dry to the touch, about 2 minutes, then put on loose clothing. I then sleep with it on me, so that it has overnight to develop. It is a 2-hour product, so you could also rinse it off after 2 hours and be good to go.
Step 7: Rinse! I typically don’t use body wash in this shower, just let the water run over my skin and rinse off the product that is still on the surface. I very carefully towel dry (more of a pat motion than rubbing my skin dry) and moisturize my whole body with lotion. For subsequent showers after this one, I do the same – pat dry and moisturize.
This tan will last about a week for me, depending on exposure to water (if I’m in a pool, it wears off much faster) or intense workouts with sweating involved. It wears off pretty naturally, too!
Since I sleep in it, I usually just wear a loose tee. Some will transfer onto my white sheets, but it all comes out in the wash! If you want no transfer at all, I would sleep in pants and a long-sleeve.
I don’t notice a strong smell with the tanning solution, but everyone has a different threshold for scents. After I rinse it the first time, I don’t smell it again. I’ve used other self tanners and have found this one to be the most natural-looking for my skin tone.
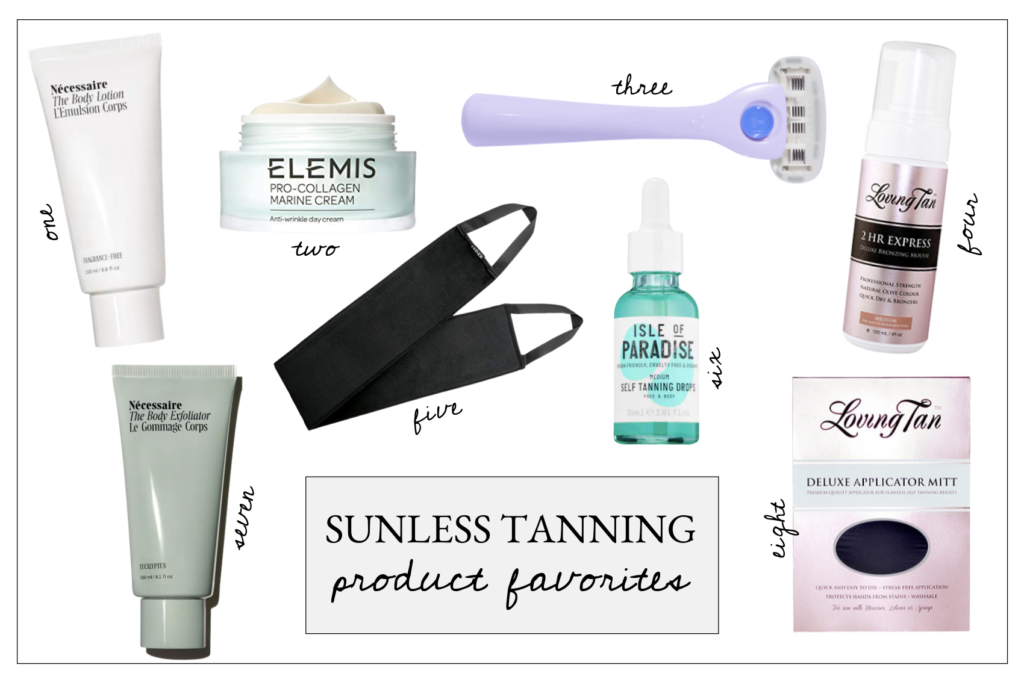 one // two // three // four // five // six // seven // eight


How do you compare Loving Tan with St. Tropez? I’ve heard Loving Tan is more difficult to apply. Do you think one is better than the other?
For me, Loving Tan has a more natural coloring, which is why I like it. I used St. Tropez for years and it was great! I’d recommend both equally, just depends on how the coloring shows on your own skin tone!
How do you deal with your hands? That’s a very tricky area for me.
I use an old makeup brush to blend the tanner onto my hands and feet!
Thank you for this great, detailed post! I always feel kind of helpless when it comes to self tanning, so I’ve never had the courage to try it. I’m going to give it a go. This Buffalo girl needs a little color!
I’m glad it was helpful!!